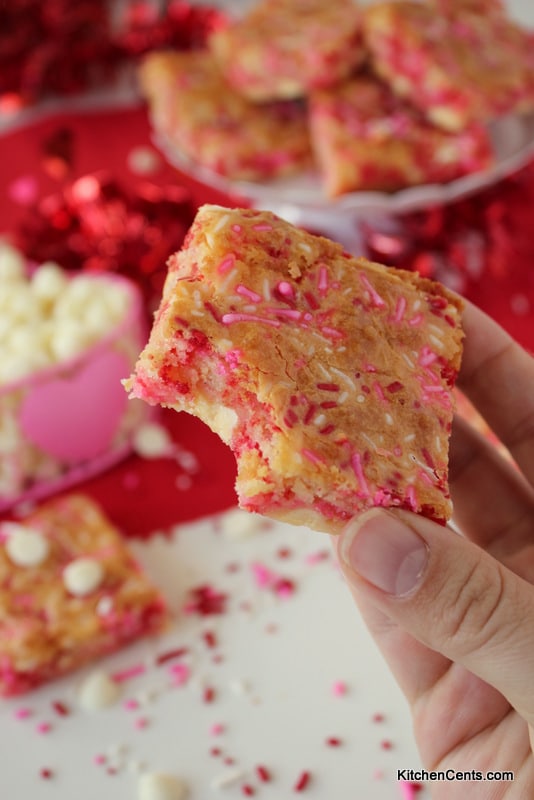
These dense, White Chocolate Blondies are a perfect sweet treat with chunks of sweet white chocolate and oodles of festive colorful sprinkles. Making these delicious blondies with red, pink, and white sprinkles would sweeten anyone’s Valentine’s Day!

Are you ready for Valentine’s Day?! I feel like we’ve been celebrating in anticipation of the big Day of Love for a couple weeks now. The girls are LOVING it! I can dare say we are having two to three tea parties a week. You know what they say, practice makes perfect. 😉
This fun, festive pink and red White Chocolate Blondies came about because of our love for tea parties and Valentine’s Day. They’re so yummy and pretty too! One of the things I love most about them is their dense consistency. They’re like a brownie but vanilla flavored and white thus the “blondie” name.
Ingredients Needed:
- Melted Butter
- Sugar
- Eggs
- Vanilla
- White Chocolate
- Flour
- Sprinkles
Recipe Overview:
These sweet white chocolate blondies only take about five minutes to mix and 30ish minutes to bake, depending on your oven and pan.
First, I mix the butter and sugar together then add the eggs and vanilla. Once those are mixed well, I stir in the melted white chocolate. You’ll want to make sure you mix the melted white chocolate in while it’s warm so it will disperse.
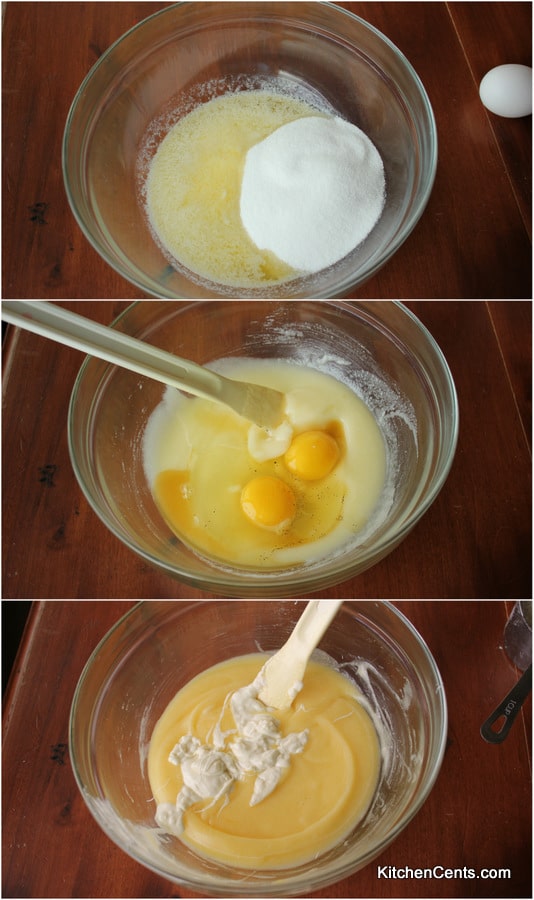
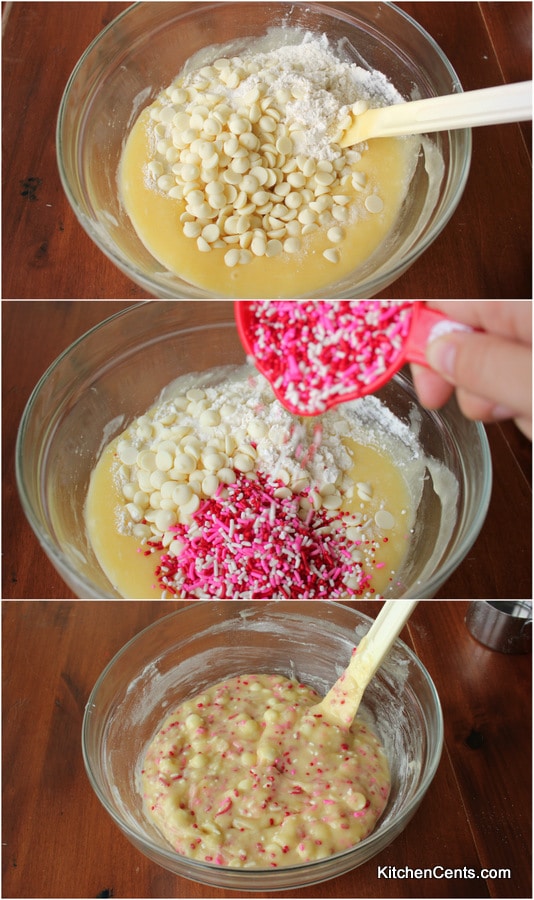
After the melted white chocolate is fully mixed in, I add the flour, white chocolate chunks, and sprinkles. You can make these for any occasion really. Adding your favorite color of sprinkles, Christmas sprinkles, etc can make these a perfect treat you can enjoy year around.
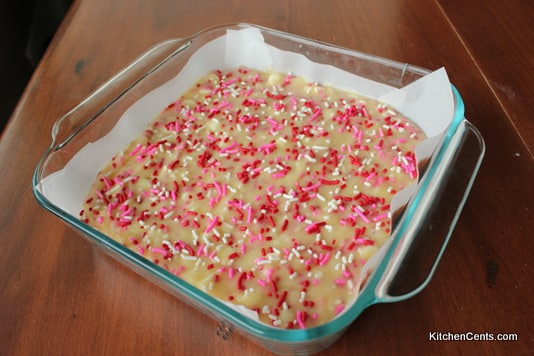
I’ve baked these blondies in an 8×8 inch, 9×9 inch, and a 7×11 inch pan. The time may vary a bit depending on what you choose to use. This recipe is written for a 9×9 or 7×11 inch pan. Once the batter is mixed I pour it into a pan lined with parchment paper. The parchment paper makes it much easier to lift out of the pan to cut and helps avoid sticking. Both are to very helpful things when it comes to blondies. 🙂
Once these white chocolate blondies come out of the oven, I let them cool for at least 30 minutes before I cut into them. Don’t get me wrong, you can totally eat these hot out of the oven but they won’t be set and will fall apart. If you let them cool, the cut you make will be much “cleaner.”
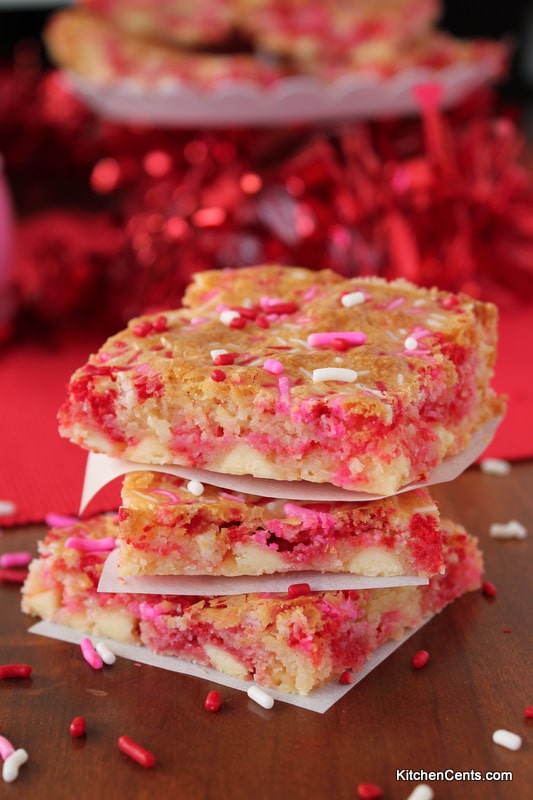
The sprinkles will color the blondies as they cook. The pretty pink and red colors AND the chunks of white chocolate make these white chocolate blondies so good!
Do you have a Valentine’s Day tradition? Activity? Food? Dessert?
White Chocolate Blondies Recipe Card:

White Chocolate Blondies
These dense, White Chocolate Blondies are a perfect sweet treat with chunks of sweet white chocolate and oodles of festive colorful sprinkles.
Ingredients
- 6 tbsp butter, melted
- 3/4 cup sugar
- 2 eggs
- 1 1/2 tbsp vanilla
- 1/2 cup white chocolate, 1/4 cup melted, 1/4 cup left as chips
- 1/2 tsp salt
- 1 cup flour
- 1/2 cup sprinkles, 1/4 cup in batter, 1/4 cup sprinkled on top
Instructions
- Preheat oven to 350' F.
- In mixing bowl, add melted butter and sugar. Mix. Add eggs and vanilla. Mix.
- Melt 1/4 cup white chocolate chips and add to sugar mixture. Stir until well incorporated.
- Add salt, flour, remaining white chocolate chips 1/2 cup), and 1/4 cup sprinkles. Mix only until combined.
- Pour into 9x9 or 7x11 inch pan lined with parchment paper. Sprinkle remaining 1/4 cup sprinkles on top.
- Bake at 350' F for 30 minutes or until toothpick in center comes out clean. If using a glass pan, it may take up to 5 additional minutes to bake.
Notes
- For crispier edges and bottom, use a metal pan.
- You may use an 8x8 inch pan but will need to adjust/increase bake time.
Originally Published: 02.12.2018 Updated: 03.05.2024
