An easy do-it-yourself clothespin wreath made with clothespins, festive colorful paper, and beautiful Valentine’s and St. Patrick’s day embellishments.

Are you looking for a great, easy DIY Valentine’s craft that will make your home beautiful and festive?
This DIY Reversible Clothespin Wreath for Valentine’s day, with a reverse St. Patrick’s day theme, is a great DIY craft that will last from January to March. Who doesn’t love that?!
With its colorful clothespin design, fun embellishments and inexpensive costs, this wreath is a great way to add a little festive spirit right on your front door for very little cost. If you are like me, with the attitude that crafting is always better cheap or free, you will love this wreath.
LOOKING FOR MORE HOLIDAY FUN?
VALENTINE’S DAY IDEAS:
- Red Heart Brownie Teacakes
- 5-Minute Chocolate Mousse
- Valentine’s Turtle Pretzels
- Valentine’s Buttermilk Pancake Bites
- Pretty Pink Raspberry Mousse
- Dessert Charcuterie Board
- 27+ Chocolate Valentine’s Desserts
- Easy Valentine’s Glitter Heart Burlap Wreath (under $5)
- Mermaid Valentine (with FREE printable)
What You Need To Make A Clothespin Wreath:
Supplies:
- 8 different Valentine’s papers (pinks, reds, whites, etc)
- 8 different St. Patty’s papers (greens, whites, shamrock, etc)
- 98 wood clothespins (2 packs of 50 or 1 pack of a 100)
- Mod Podge
- 18″ box wire wreath frame (you can find these at most craft stores. I found mine at JoAnn and used a JoAnn coupon).
- embellishments (hearts, flowers, clovers, shamrocks… I found most of my embellishments at the dollar store or craft store. I used burlap ribbon for both).
- wire or string to attach embellishments
Tools:
- paper cutter or scissors and ruler
- brush for mod podge

HOW TO MAKE A CLOTHESPIN WREATH FOR THE HOLIDAYS:
On a scale from easy to extremely hard I would say this clothespin wreath would land around easy to medium difficulty. Even a beginner crafter can create their own DIY wreath with my step-by-step guide. There are multiple steps but you can see the step-by-step directions below.
Cut Papers to Fit Clothespins
Start with the paper. You will be making a total of 98 clothespins. Depending on how many different paper patterns you choose, will help you decide how many of each paper you will need to cut. I chose 8 different patterns for each side and so I needed 13 of each pattern. If you do what I did, you’ll end up with a few extra that way (104). Cut each paper to fit the length of your clothespins. Then cut those into long strips the same width as your clothespins. Most clothespins are about 3 1/4 inches long and 3/8 inch wide.

Double check by finding the measurements on the clothespin package or by measuring them yourself.
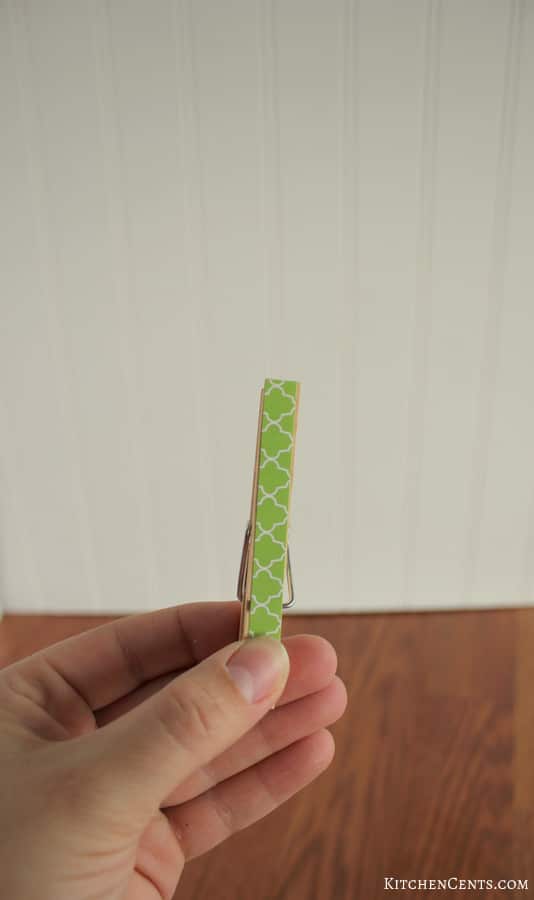
Glue Strips of Paper onto Clothespins
It’s easiest if you work on one side of the clothespins at a time. Make sure you match up which Valentine’s and St. Patrick’s papers you want with which. It’ll be much easier to switch the wreath between holidays if you match the papers for the different holidays so the pattern works when flipping them over. For example, I want all the red polka dot paper to be on the same pins as all of the green and white clover paper. After figuring out what paper patterns you want to use together, brush a small amount of mod podge onto one side of the clothespin, apply the paper, then mod podge over the paper to seal it. Let dry.
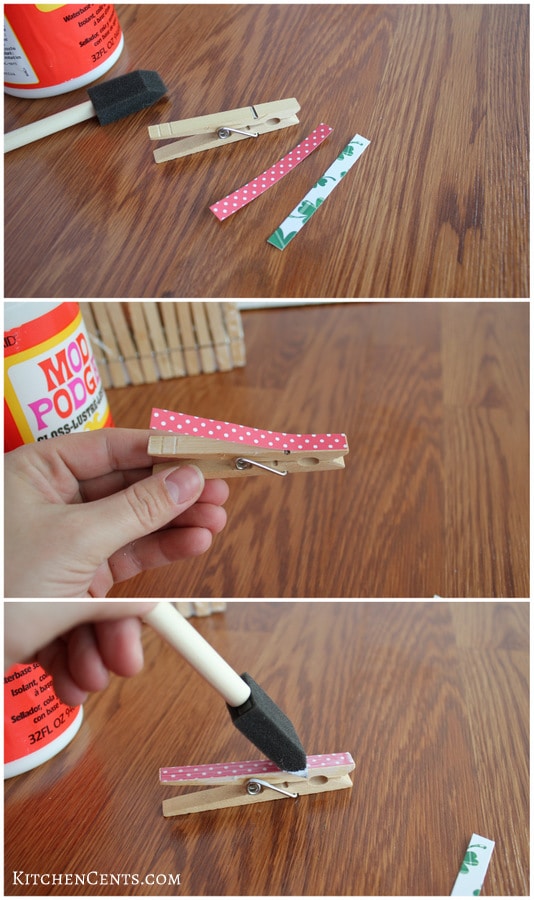
Once the first side is dry, do the same thing on the opposite side. Use the paper pattern you chose for the second holiday.
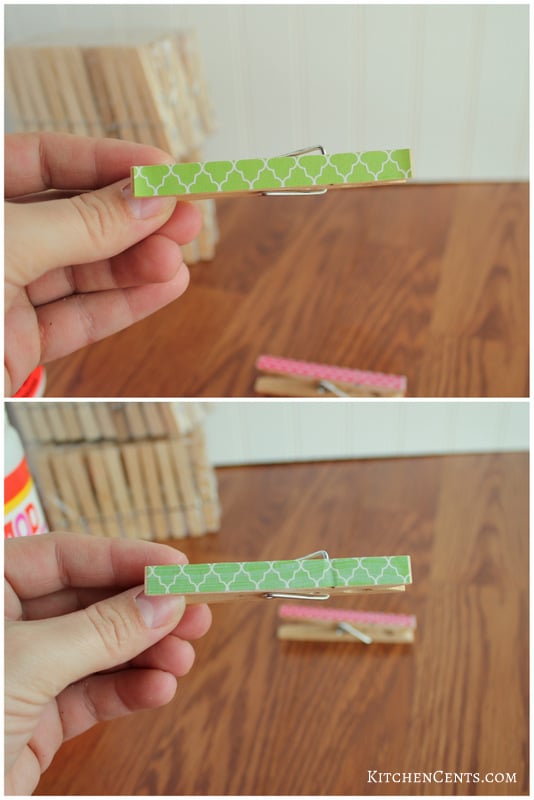
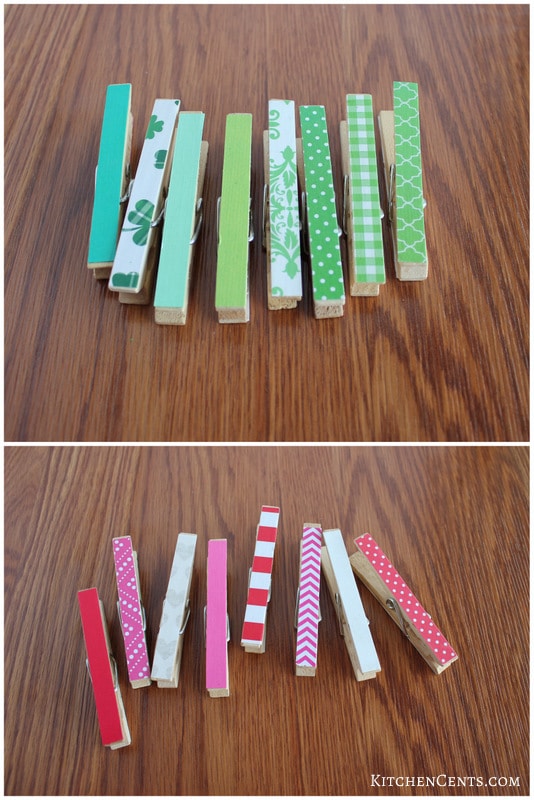
I took this clothespin apart after finishing it so you could see each side. The Valentine’s side is red and white stripes and the St. Patrick’s day side is a green pattern.
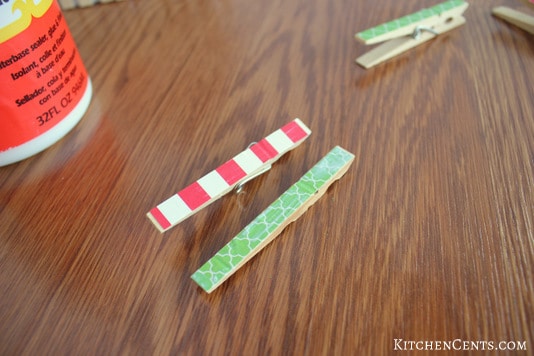
I just loved having so many different patterns. 🙂 Aren’t they so pretty?!
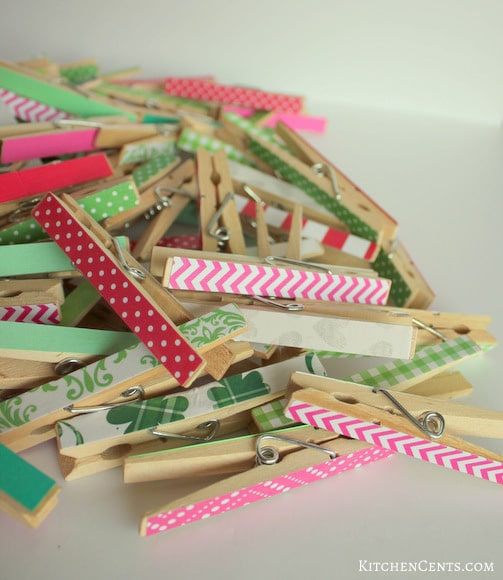
You will end up with a very large pile of pretty and colorful clothespins.
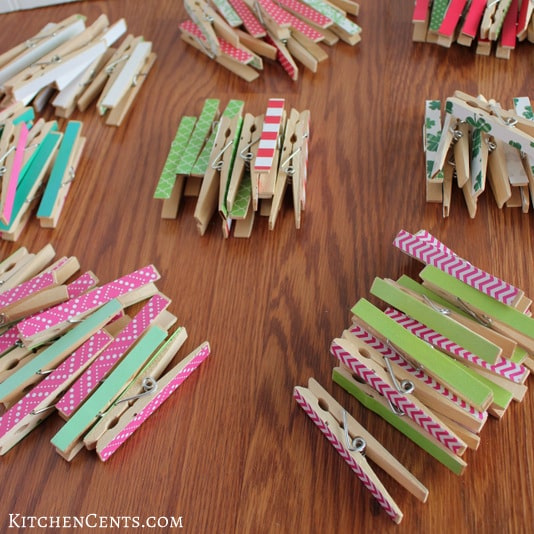
Next, sort each pattern into an individual pile. This will make putting the wreath together much easier and quicker. You might even want to line them up in the order you’d like to place them.
Clip Clothespins onto Wreath In A Pattern
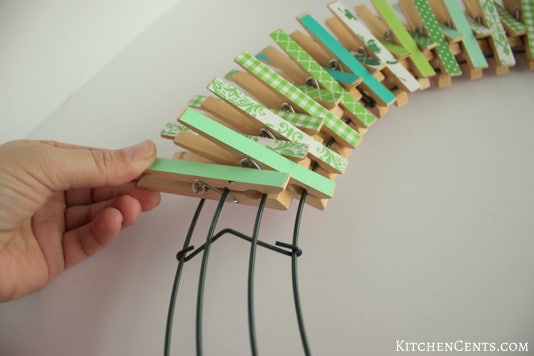
Grab the wire wreath frame. As you clip the colorful clothespins onto the frame, alternate from the bottom two wires to the two middle ones. This gives it a fun wavy look.
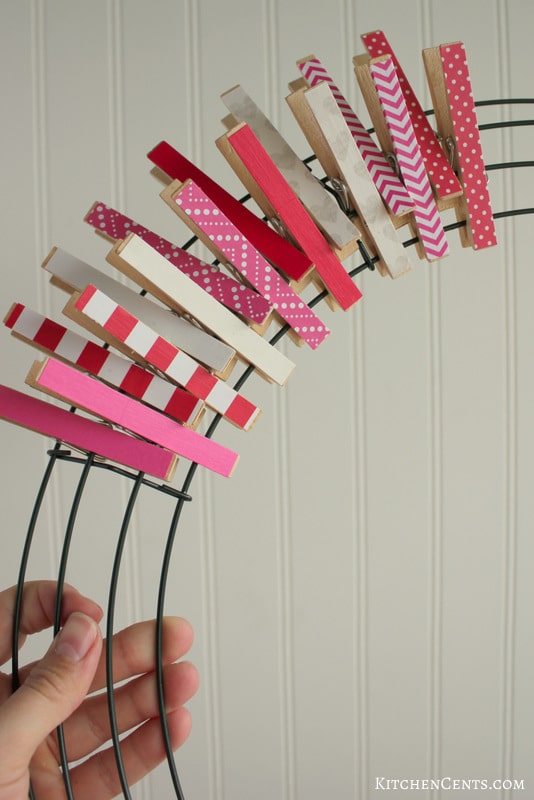
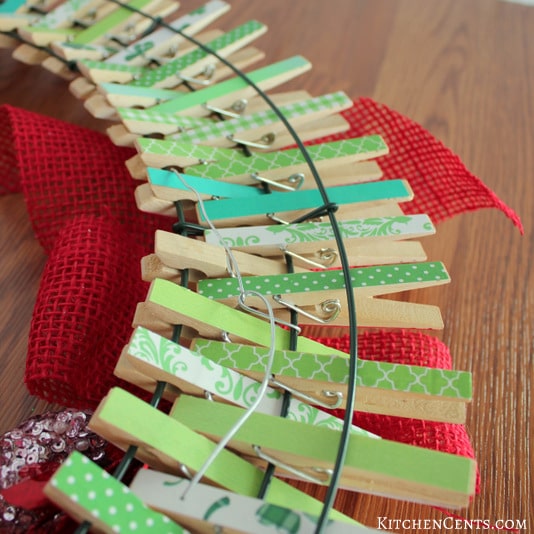
Here’s another picture with the St. Patty’s side. Make sure you always clip to 2 wires to make sure the clothespin is secure.
Make and Attach Embellishment
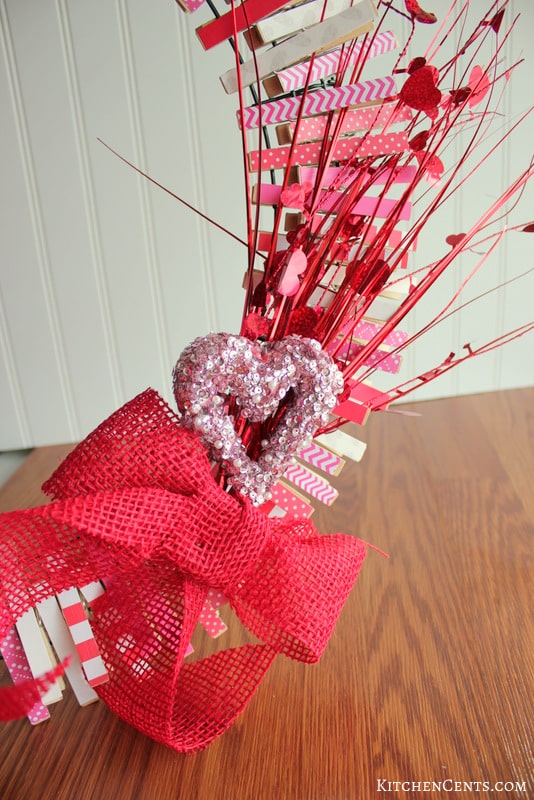
Once the wreath is full, make your embellishments. For the Valentines side, I used a couple fun red center-piece things (I am not sure exactly what these are called), a pink sequin heart and 2″ red burlap. I attached the embellishments together with a wire from a twist tie.

Then, I made a bow with the 2″ red burlap and attached it to the heart embellishment with more wire. Pretty festive if I do say so myself.

I used a heavier wire to attach this to the wreath. Make sure whichever method you use to attach it, it’s removable as you’ll need to remove it to reverse sides.
Here’s the embellishment all attached and ready to go. I can already feel love in the air! 😉
Hang Your Beautiful Clothespin Wreath
You just made your very own Valentine’s Clothespin Wreath!
Finally, your new festive holiday wreath is ready to hang on your door. I hang mine with a door hanger, which you can attach to directly or via a ribbon if you want some extra flare. Here’s mine… all done!

Here’s a full-door shot of the reverse side, for St. Patrick’s. I’m sure it will bring me some luck and a leprechaun or two. Hehe.

How fun is that?! I just love these, especially because I can use it for more than a month.
This wreath is fun, festive (for two holidays) and easy to make. It is a great DIY holiday craft sure to bring a little love and a bit of luck this Valentine’s and St. Patty’s Day!
Originally Posted: 1.11.17 Last Updated: 02.01.2024

72 thoughts on “DIY Reversible Clothespin Wreath”