Learn how to make dense, chewy, chocolate brownie with a cup in the center. These from-scratch Mini Brownie Cups can be made for any occasion. Fill them with your favorite brownie addition… mint, raspberry or 3-Ingredient Chocolate Mousse, cream cheese icing, caramel, ice cream. The list goes on and on!
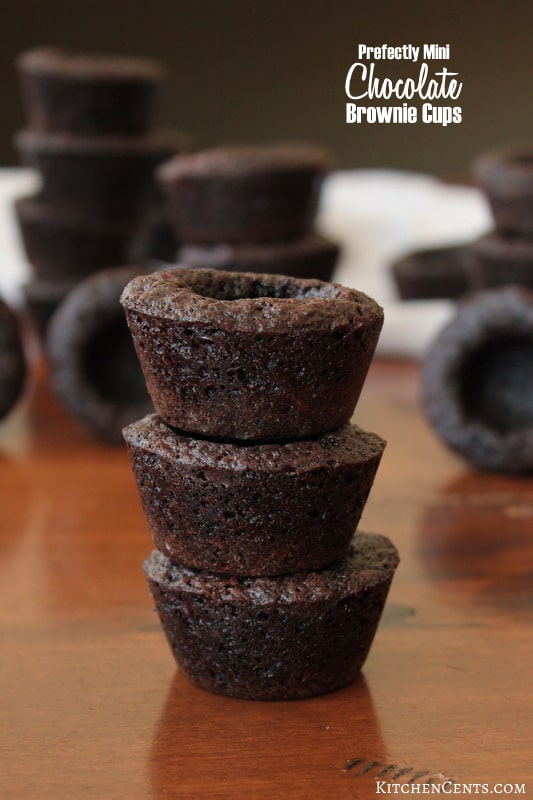
I love brownies! These mini brownie cups are so good.
If you want a versatile brownie treat, this is it! Imagine a brownie you could literally make 48 different ways. These little cups are chewy, dense, 2-biters of chocolate goodness that will hold up to all kinds of fillings. It won’t fall apart on you which is kind of a good thing. 😉
Choosing the filling for your brownie cups will be the hardest part. Make a batch then fill them with whatever filling you enjoy with your brownie. Mint Mousse, Rasberry Mousse, Chocolate Mousse, caramel sauce, buttercream frosting, cream cheese frosting, strawberries and whipped cream… these are just a few we’ve tried and loved. There are so many possibilities! Picking the filling really is the hardest part.
These 2-bite mini brownie cups are great for parties and sharing. We love making a batch then sharing with neighbors and friends. Plus, I don’t feel so guilty when I enjoy two or three of them at a time. Haha.
Recipe Overview
*Find the full instructions in the recipe card below*
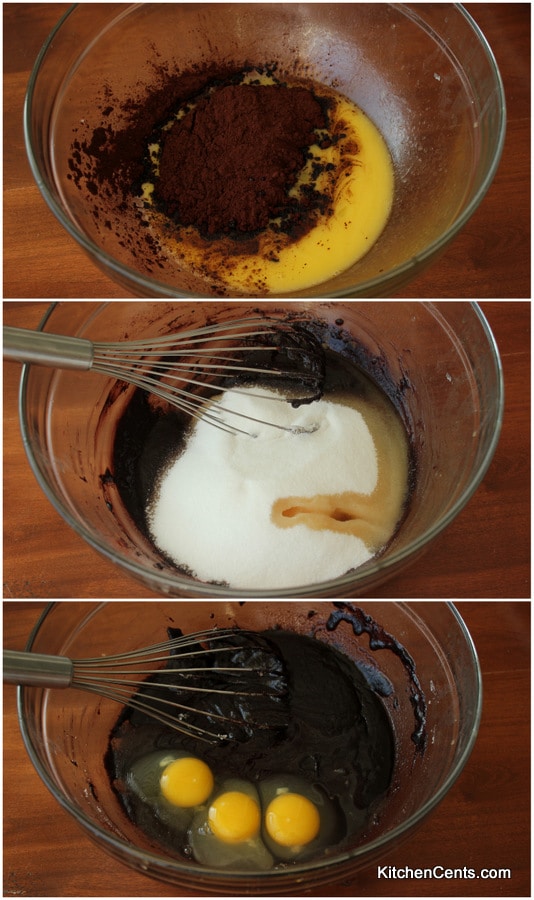
They’re really easy to make. Here’s how I do it. I mix the butter and cocoa powder together then add the sugar and vanilla. Once the sugar and vanilla are mixed I add the eggs.
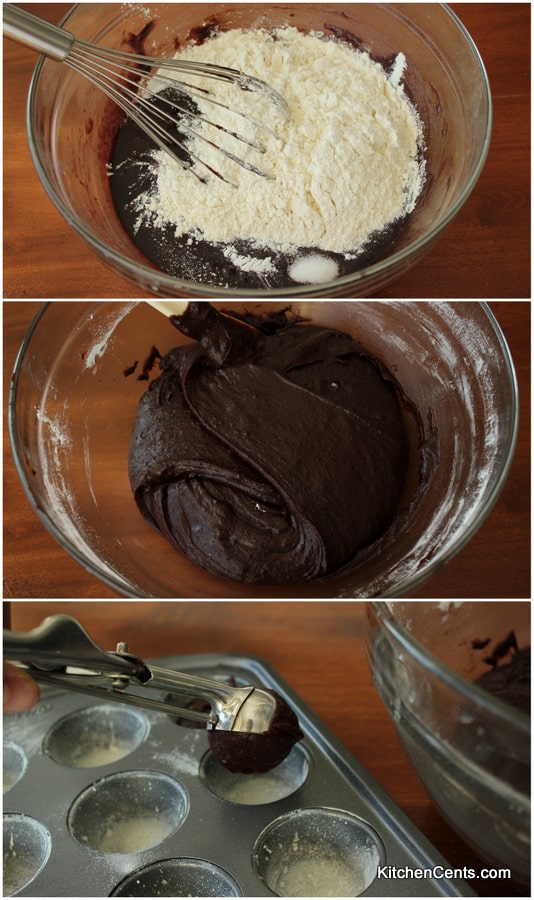
Next, the dry ingredients (flour, salt, and baking powder) are added. I only mix the dry ingredients until they are incorporated. Brownies can go from mixed to overmixed very quickly. So… don’t overmix. Once the batter is mixed I scoop the batter into lightly floured mini muffin tins. I like to use my size 70 scoop which is equivalent to 1 tablespoon. The recipe makes 48 mini brownie bits. I bake mine in 2 mini muffin tins, each holding 24 brownies. Once the pans are filled, bake’em!
This brownie recipe is fabulous for these because they aren’t overly sweet. These brownie cups come out dense (in a good way), chewy, and has a dark chocolate flavor. It’s the perfect brownie cup to fill with sweet mousse, caramel, ice cream, etc.
If you’re looking for something light and fruity, this Raspberry Mousse is great. You can find step-by-step directions for the mousse HERE. This mousse is eggless and comes together pretty fast. If you follow the Raspberry Mousse recipe you will only need a half batch. If I were you, I’d make the whole batch and enjoy some mousse by itself or with fruit. Yum!
Fillings:
If you’re wanting something a little more rich you could try this homemade Salted Caramel Sauce or peanut butter filling using this Reese’s copycat recipe.
After the brownie bits are done baking, I let them cool for about 5 minutes. I use a small fondant rolling pin to make the bowl part. You can use a measuring spoon or get creative with what you have on hand. I pop the brownie cups out of the pan before filling. This helps keep everything clean as sometimes the brownie cups will stick to the pan and if that happens, you don’t want to try to get them out after being filled.
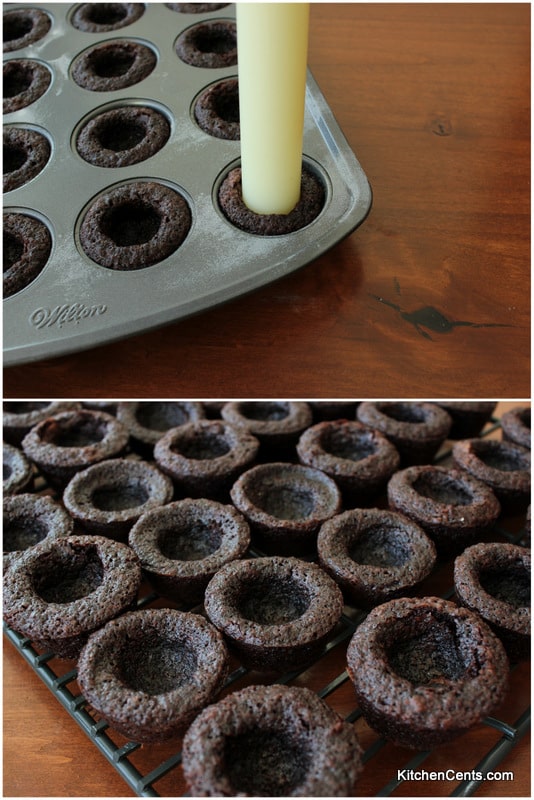
Once they’re out of the pan, I let them fully cool before filling. If you’re going to fill them with something warm like a caramel sauce, cooling completely isn’t totally necessary but if filling with a mousse, pudding or ice cream, completely cool is the way to go. That’s it! They are ready for the filling of your choice. I usually put the filling in a ziploc bag, cut a small hold in the corner or use a piping tip to fill them.
If you’re not feeling like filling the brownie cups you can always skip the cup part and go with a brownie bite. 🙂
Try one of these mousses as the filling:
- Easy Raspberry Mousse
- Mint Mousse Brownie Cups
- 3-Ingredient Chocolate Mousse
- Strawberry Jell-o Mousse
Mini Brownie Cups Recipe Card:
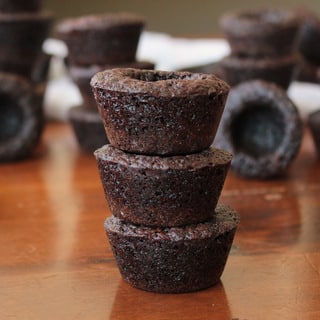
Mini Brownie Cups
A dense, chewy, chocolate brownie with a cup in the center, these Mini Brownie Cups from scratch can be made for any occasion.
Ingredients
- 3/4 cup butter melted
- 1/2 cup cocoa powder
- 1 1/2 cups sugar
- 2 tsp vanilla
- 3 eggs
- 1/2 tsp salt
- 1/2 tsp baking powder
- 1 1/4 cups flour
Instructions
- Preheat oven to 350' F.
- Mix butter cocoa powder, and sugar together. Add vanilla and eggs. Mix.
- Add flour, salt, and baking powder. Only mix until incorporated. Don't overmix.
- Scoop (size 70 scoop) 1 tablespoon into each mini cup tin that has been lightly greased and floured.
- Bake brownies for 14-16 minutes or until toothpick comes out clean.
- Let cool 5 minutes then push small rolling pin, round tablespoon or other item to make the cup part in the center of the brownie. Remove brownie cups from pan before filling.
- Fill with desired filling. Mousses, frostings, caramel, ice cream, etc.

I am making them right now. Slighly changed the recipe. 3/4 cup flour and 1 1/4 coco, 1/2 cup of maple syrup, 2 teaspoons of instant coffee, 1/8 teaspoon of ground mace. They look amazing! Had to add less flour nrxt time by about 2 tablespoons next time.
Oooh! That sounds amazing! How did they taste?
EPIC FAIL! I was so excited for these brownie cups for a treat for the Poker Run. My theme is red, black and white for playing cards, and I was going to fill these brownie cups (“black”) with white chocolate mousse and top with a raspberry. I followed the recipe carefully, used my tablespoon scoop, and didn’t even fill it totally, and every single brownie overran the cup and therefore didn’t come out clean and so were unusable. So disappointed! I have a snickerdoodle recipe like this and it works like a charm, so I had high hopes.
Thank you Rachel. I am making little frog ponds. Grandchildren visiting soon and will love these.
Oh, how FUN! I’d love to see pictures. 🙂 That sounds like such a cute idea!!!
Can these be made in a regular-size muffin tin?
Hi Jerry! Yes, this recipe should be fine to be made in a regular-size muffin tin. You’ll need to adjust (increase) the bake time accordingly. I’m guessing you’ll need to bake them an extra 5-10 minutes or until a toothpick poked into the center comes out clean. Happy baking and thanks for stopping by!
These taste great however they fall apart and we had to cook them much much longer just to get them out. Will make them in paper cups next time.
Sooo sorry to hear this Shantel! I wish I knew why they stuck. If you lightly greased and floured the tin they should have released fairly easy. Depending on if you have a gas or electric oven, bake time can vary but usually not by much. I’m so sorry you had a hard time with these. I’m so happy you like the flavor though. They are a family favorite. Fingers crossed for next time.